Onigiri: Japanese Tuna Salad Rice Balls
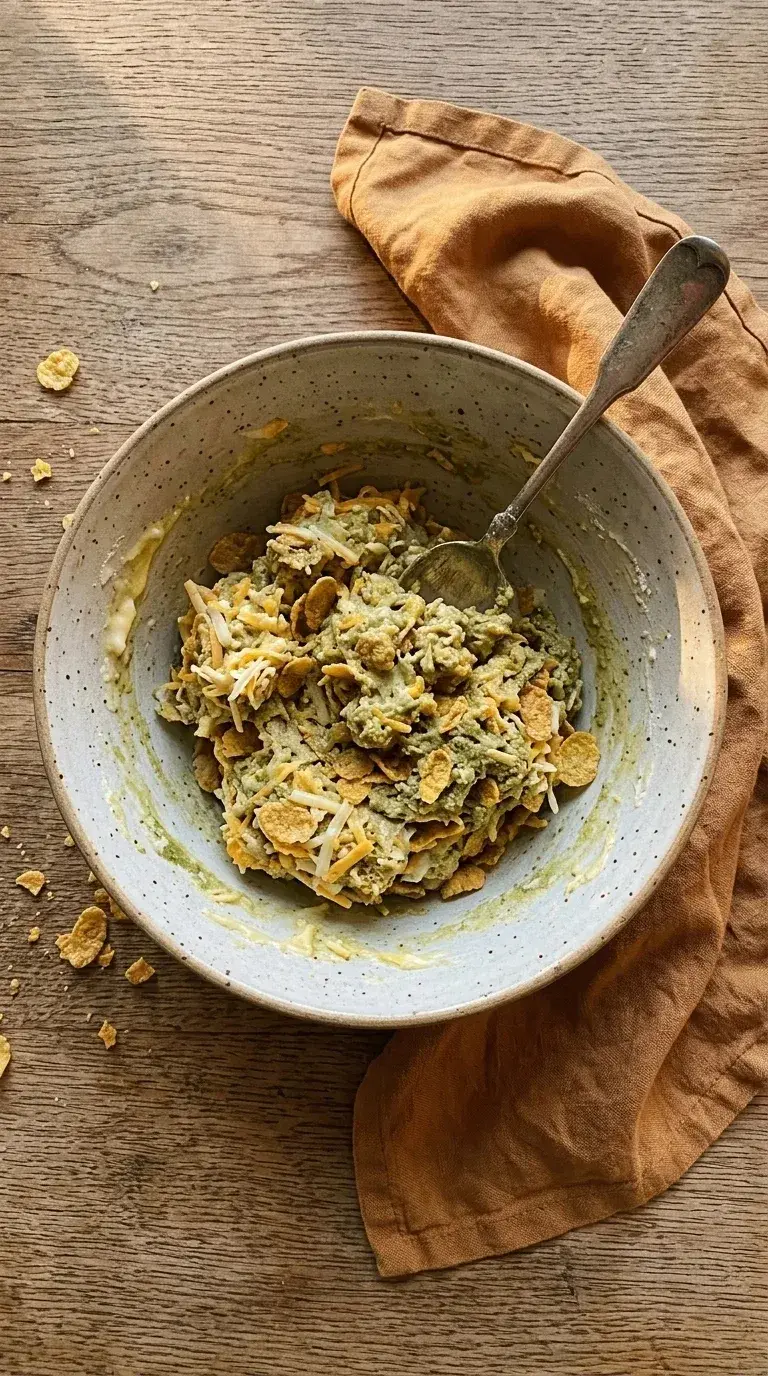
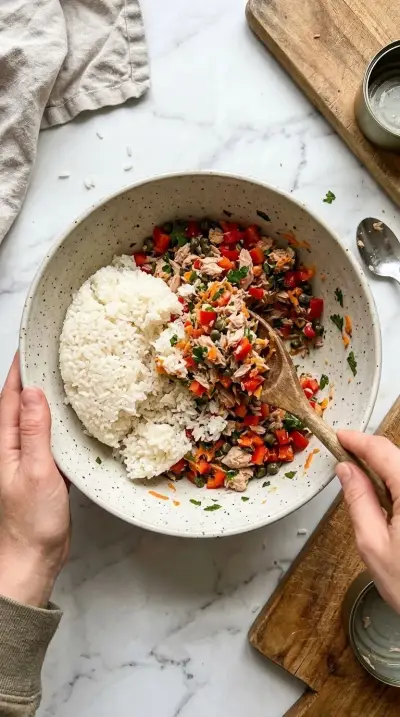
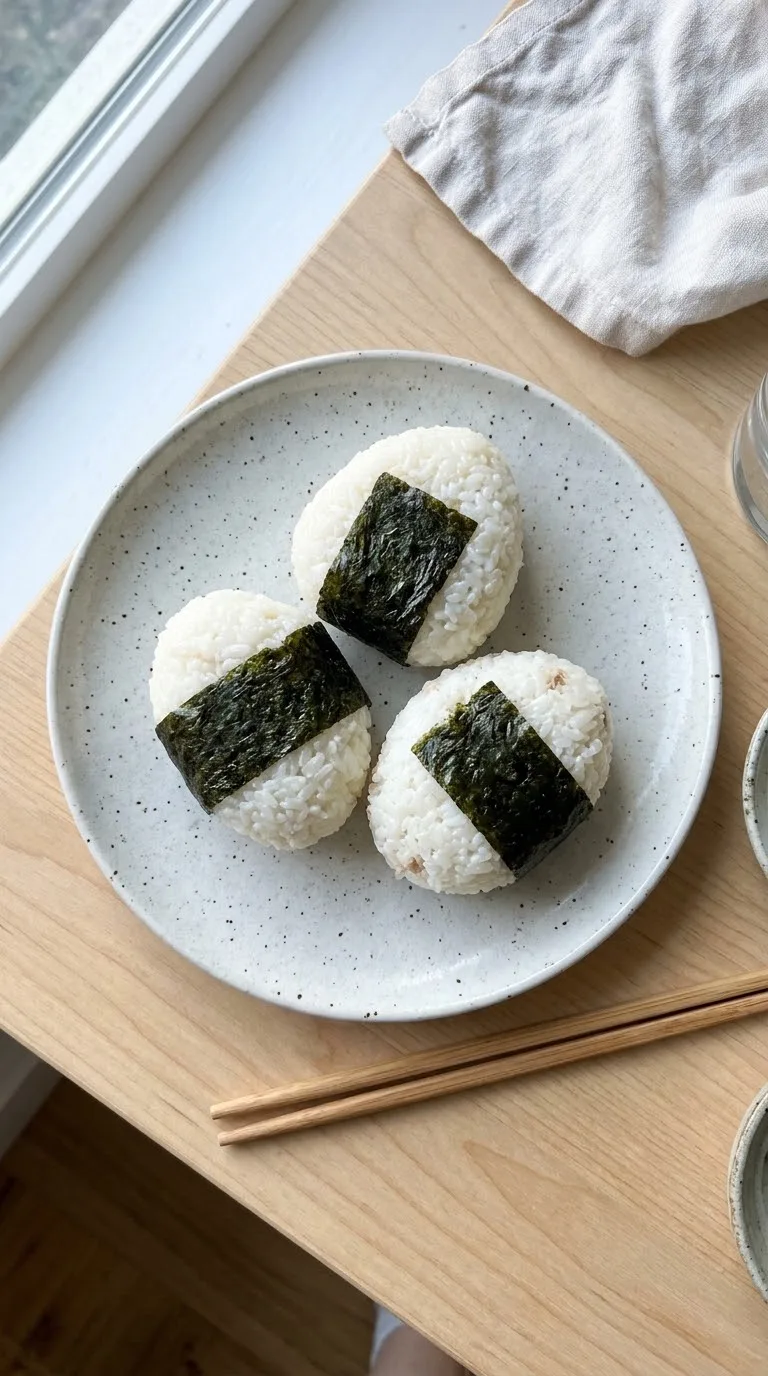
Traditional onigiri often features a distinct core of filling wrapped in plain steamed rice. This version of tuna salad onigiri departs from that method by folding the tuna mixture directly into the grains. You mix the ingredients together to ensure every bite carries the same savoury flavour. This approach saves time during the shaping process and guarantees a uniform distribution of mayonnaise and green onions throughout the rice ball.
The result is a tacky, cohesive snack with a pop of colour from black sesame seeds. You must let the cooked rice sit, covered, for five minutes to develop the signature stickiness required for moulding. This resting period allows the moisture to redistribute, ensuring the rice binds tightly without tearing. You then press the mixture into ovals or triangles to create a firm structure that holds its shape until you eat it.
Onigiri: Japanese Tuna Salad Rice Balls
Recipe cardIngredients
Instructions
-
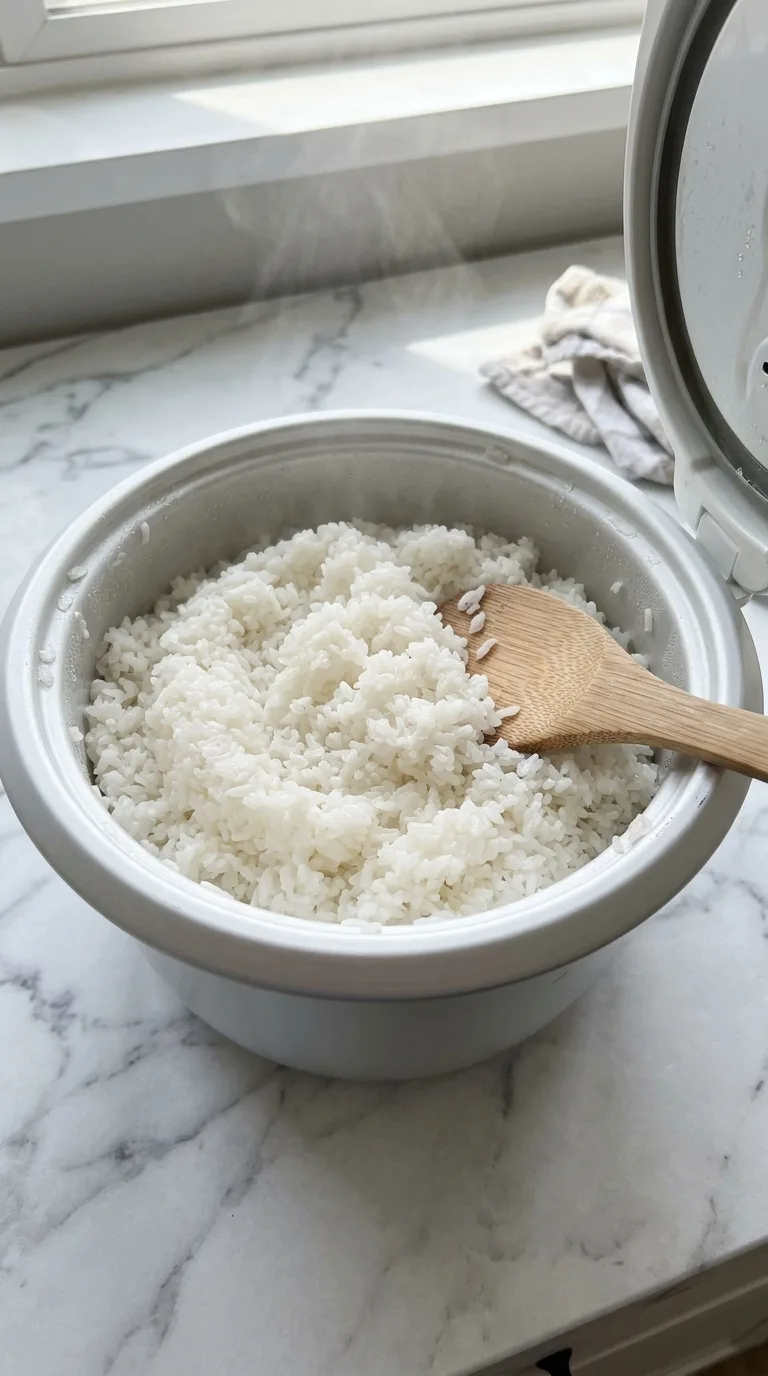
Cook the rice
Cook 350 g of uncooked short‑grain Japanese rice in a rice cooker or on the stovetop. Fluff the rice with a bamboo paddle. Let it sit covered for 300 seconds to develop the stickiness you need for moulding.
-
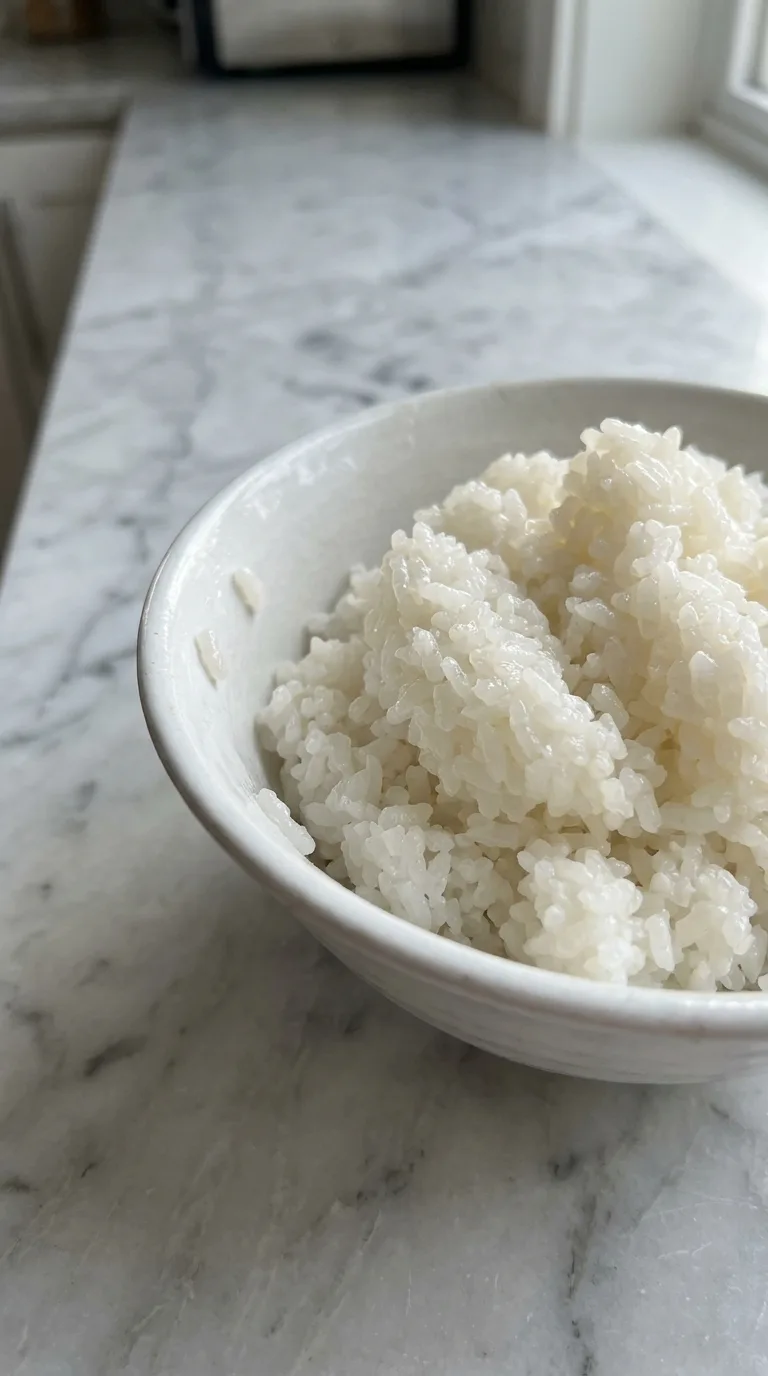
Cool the grain
Let the cooked rice cool until it is warm and slightly muggy. It must feel tacky to the touch. This ensures the rice bonds together without becoming mushy.
-
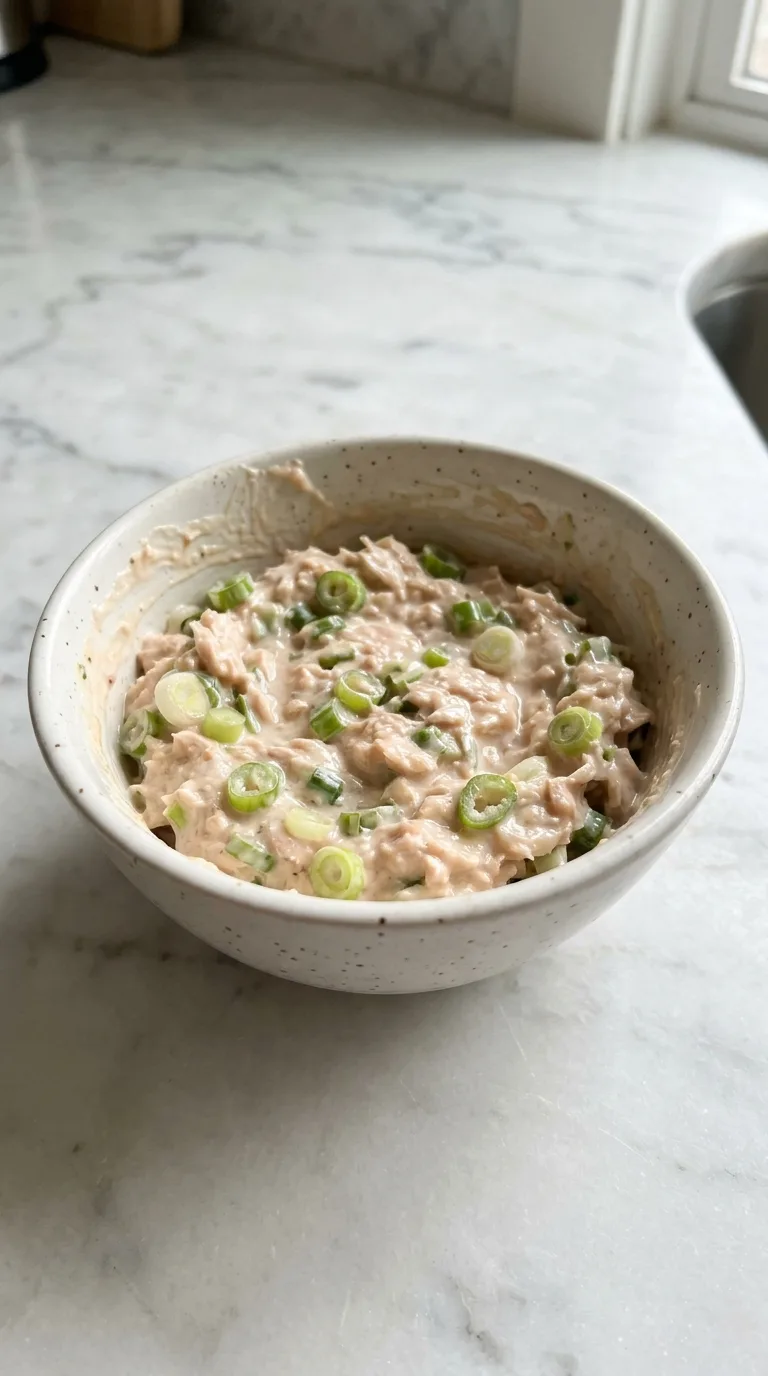
Mix the filling
Stir together 170 g drained tuna, 2 tbsp mayonnaise, 2 tbsp sliced green onions, 1 tsp rice vinegar and a pinch of salt. Mix until the texture is creamy and uniform. The salt goes in now to season the protein directly.
-
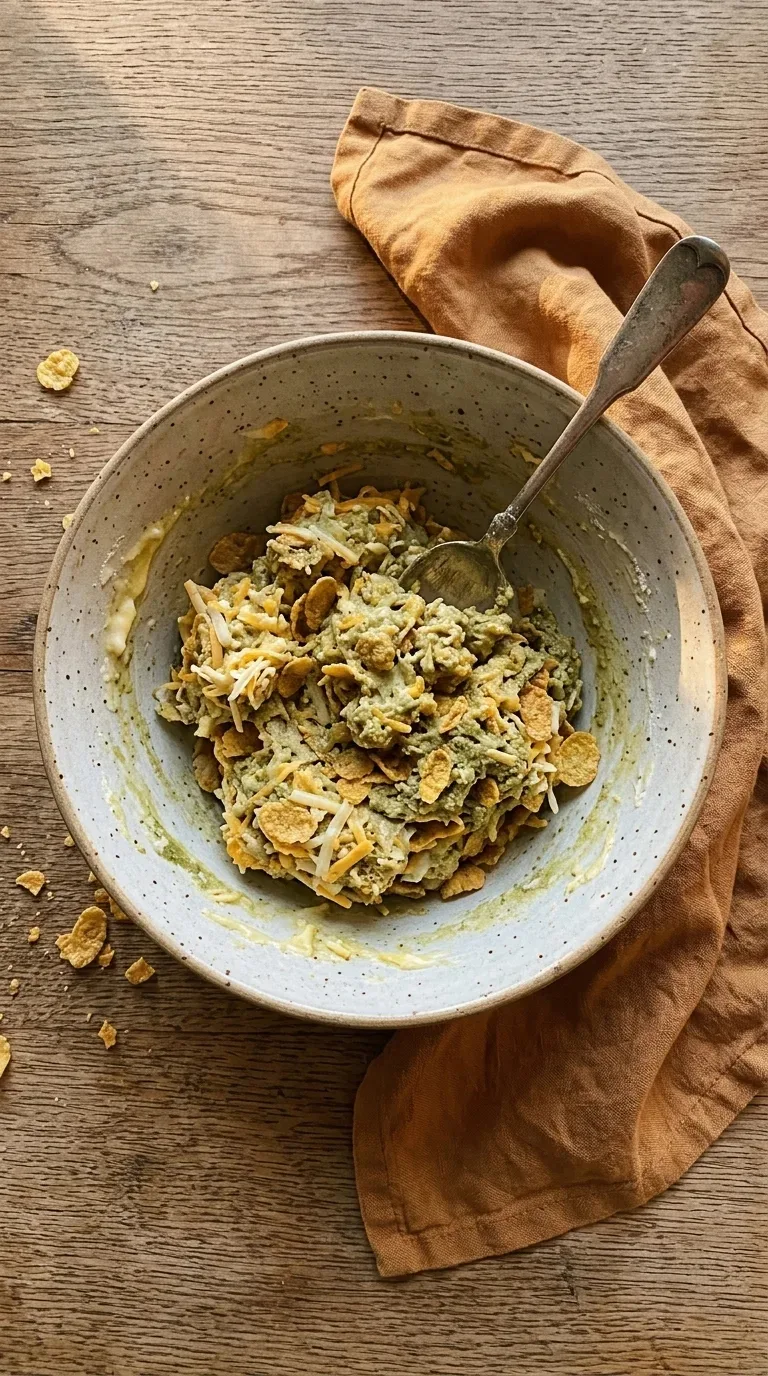
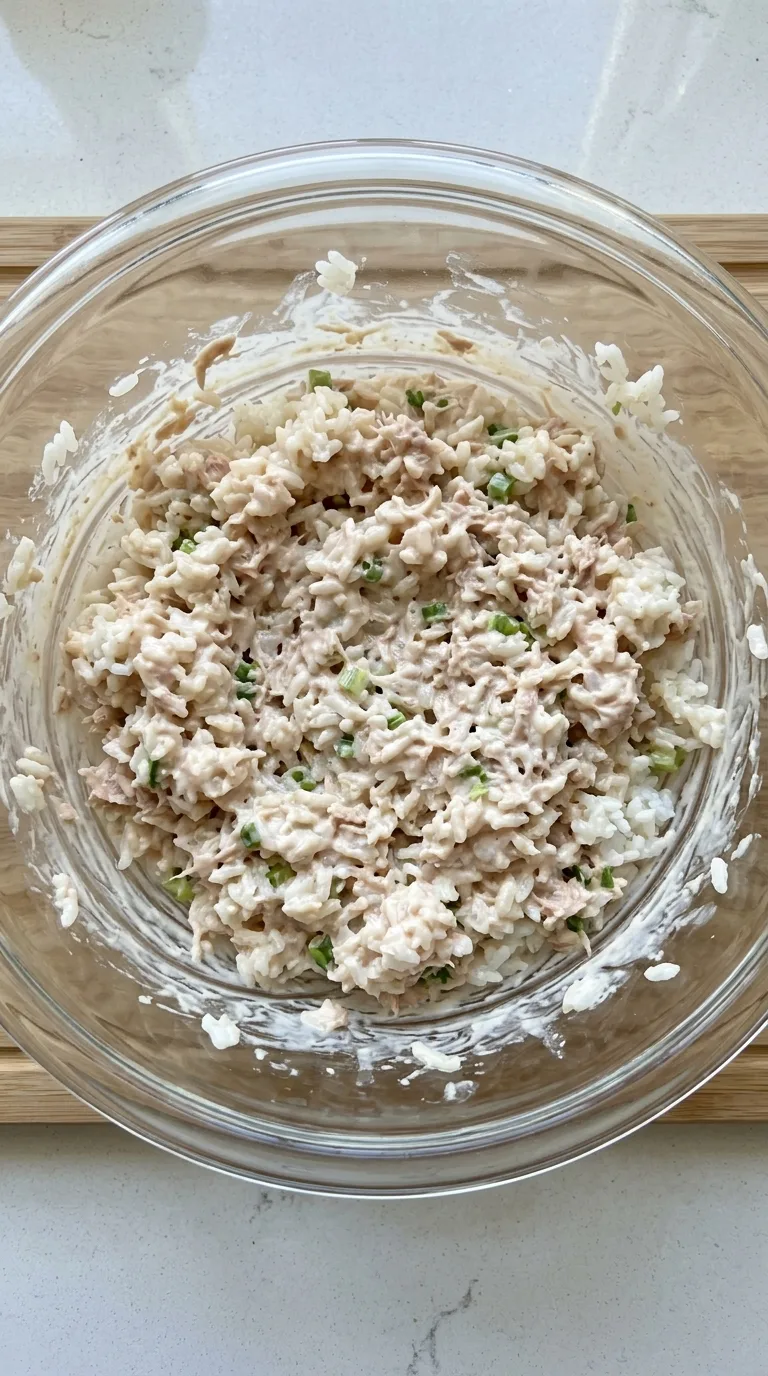
Combine rice and tuna
Gently fold the cooled rice into the tuna mixture. Mix until the rice is fully coated. Keep the mixture loose enough to mould so you do not crush the grains.
-
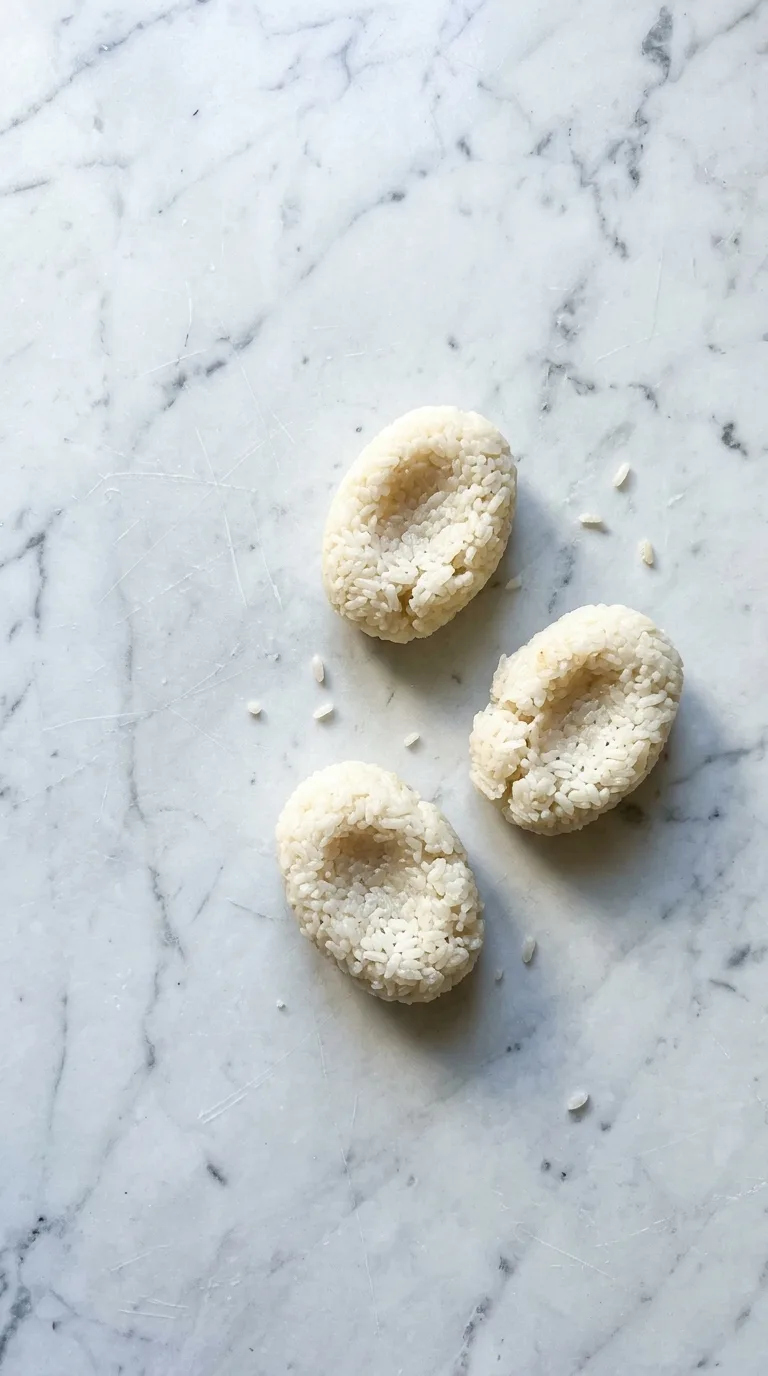
Shape the onigiri
Wet your hands with water or dust them with salt to stop the rice from sticking to your skin. Scoop 200 g of the mixture into your palm. Shape it into an oval or triangle 2 cm thick and press the inside lightly to form a cavity.
-
Wrap with nori
Place a half‑sheet strip of nori over the centre of the rice ball. Press down until the sheet is fully sealed to the rice. This provides a clean grip and adds a salty contrast to the creamy filling.
-
Add the seeds
Sprinkle 1 tbsp black sesame seeds onto the wrapped side of each onigiri. This adds a subtle crunch and a pop of colour to the finished snack.
Keep the rice slightly damp before shaping. If the rice feels too dry, it will tear apart during handling instead of holding a firm shape. You can tell this is happening if the edges of your triangle crumble; simply wet your palms again to bind the grains.
How it differs from the traditional method
This version mixes the tuna salad directly into the rice rather than placing it as a central filling. This creates a uniform flavour and a softer texture. Use the traditional stuffing method if you prefer a distinct contrast between the plain rice and the savoury centre.
Storing and reheating
Wrap onigiri individually in cling film and freeze for up to two weeks to maintain freshness. Thaw them overnight in the fridge before serving. For room temperature storage, wrap them in parchment paper or a damp paper towel for up to 2 days in a cool place.
Nutrition per serving
- Calories
- 215
- Protein
- 7.8 g
- Carbs
- 26.4 g
- Fat
- 6.2 g
- Fiber
- 1.1 g
- Sugar
- 0.8 g
Estimated, and offered as a guide rather than a medical figure.
Made it? Rate it.
Questions people ask
Can I use long grain rice instead of Japanese short grain rice
No. Short grain rice contains more starch, which provides the necessary stickiness to hold the shape. Long grain rice remains too loose and the onigiri will fall apart during handling.
How do I stop the rice from sticking to my hands
Wet your palms with water or lightly dust them with salt. This creates a thin barrier that prevents the sticky starch from adhering to your skin while you mould the shapes.
Can I bake these for a different texture
Yes. Brush each rice ball with clarified butter and bake at 180°C (350°F) for 10 minutes. This caramelises the exterior and produces a golden, crunchy crust.

About the author
Makeva
Makeva is a home‑cook who loves crafting approachable meals that balance flavor and nutrition. She specializes in quick weeknight dinners, hearty soups, and wholesome baked goods, sharing step‑by‑step guidance and practical tips. Readers can expect clear instructions, adaptable recipes, and a friendly tone that encourages confidence in the kitchen.