Why You'll Love It
- - Deep, comforting chocolate flavor with a subtle hint of cocoa
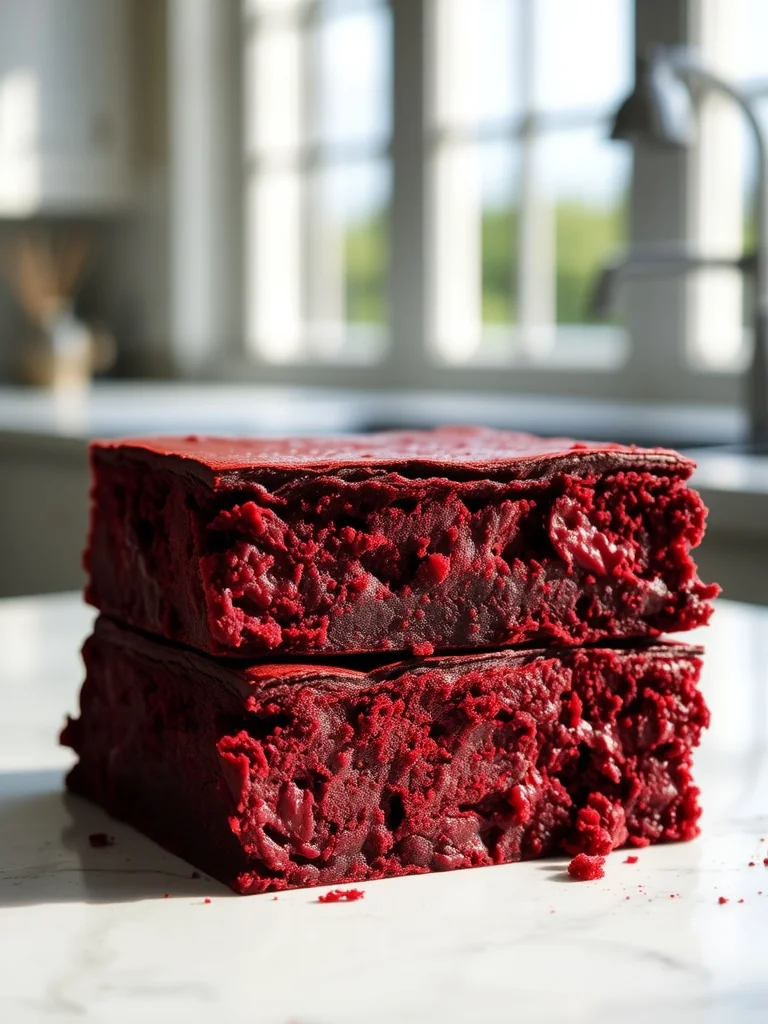
- - Velvet‑soft crumb that stays moist for days
- - Eye‑catching ruby hue that brightens any dessert spread
- - Simple pantry ingredients, no fancy equipment needed
“These brownies are the perfect balance of chocolate and velvet—every bite feels like a small celebration.”
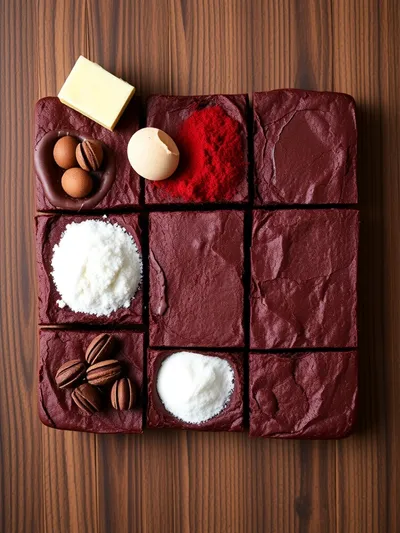
Essential Ingredient Guide
- Unsweetened cocoa powder: Choose a Dutch‑process cocoa for a richer, smoother chocolate depth.
- Red food coloring: A few drops give that signature velvet shade; natural beet powder works too.
- Buttermilk: Adds tenderness and a subtle tang that balances the sweetness.
- Brown sugar: Provides moisture and a caramel‑like undertone.
- White vinegar: React with the baking soda to create a light, airy crumb.
- Vanilla extract: Elevates the chocolate aroma without overpowering.
Complete Cooking Process
-
Ingredient Readiness:
Measure flour, cocoa, and sugars precisely; let butter soften at room temperature.
-
Flavor Development:
Combine cocoa, sugar, and a splash of vinegar; the mixture darkens and releases aromatic notes.
-
Texture Control:
Fold in beaten eggs gently to keep the batter airy, then stir in melted butter for silkiness.
-
Finishing Touches:
Swirl a dollop of cream cheese frosting just before baking for a marbled surprise.
-
Serving Timing:
Allow brownies to cool completely; this sets the fudgy interior and makes cutting clean.
- Use parchment paper to line the pan—no sticking, easy lift.
- Don’t over‑mix after adding flour; a few lumps are okay.
- Bake on the middle rack for even heat distribution.
- Store in an airtight container; a slice stays moist for up to 5 days.
Pro Tips
Well, after you’ve tried these tips, you’ll notice the brownies keep that luscious texture longer. It’s a small effort that makes a big difference, especially when you’re sharing them with friends. The next time you pull a batch from the oven, take a moment to admire that glossy, ruby‑red surface—then dive in.
The essence of the dish:
A fun fact or historical angle:
Flavor or sensory focus:
You Must Know
- Do not over‑bake; aim for a slightly wobbly center.
- Room‑temperature butter blends better, preventing lumps.
- Cool completely before slicing to keep edges clean.
Frequently Asked Questions
→ Can I substitute butter with oil?
Oil will keep the brownies moist but changes the texture slightly; the classic buttery flavor is part of the charm.
→ How long can I store them?
In an airtight container at room temperature for up to five days, or freeze for up to two months.
→ Are these gluten‑free?
Swap all‑purpose flour for a gluten‑free blend; the result stays just as fudgy.
→ What frosting works best?
A simple cream cheese frosting or a drizzle of melted chocolate adds an extra layer of decadence.
→ Can I add nuts?
Chopped pecans or walnuts add crunch; fold them in after the batter is mixed.
→ Do I need red food coloring?
If you prefer a natural hue, use beet powder or skip coloring for a dark chocolate brownie with a subtle pink tint.
Chef's Tips
Allow brownies to cool completely in the pan before cutting; this preserves the fudgy interior.,For an extra glossy finish, brush the top with a thin layer of melted chocolate immediately after baking.,If you like a hint of coffee, dissolve ½ tsp instant espresso in the melted butter before mixing.
Nutrition Facts
per serving
320
Calories
4g
Protein
42g
Carbs
15g
Fat
Taste Profile
Rich chocolate with a gentle velvet sweetness
Ingredient Substitutions
Don't have an ingredient? Try these alternatives
Use a 1:1 replacement; the texture remains fudgy.
Provides a slight coconut aroma; keep the amount equal.
Recipe Variations
Try these delicious twists on the original
Spicy Version
Add ½ tsp cayenne pepper and a pinch of ground cinnamon for a subtle warmth.
Mediterranean Style
Stir in crumbled feta and chopped olives after baking for a savory twist.
Common Mistakes to Avoid
Learn from others' mistakes for perfect results
- Over‑baking, which makes brownies dry.
- Mixing the batter too long after adding flour.
- Skipping the parchment; it makes removal messy.
Meal Prep & Storage
Make Ahead Tips
You can bake the brownies a day ahead and store them tightly covered; the flavors deepen beautifully.
Leftover Ideas
Reheat gently in a skillet over low heat with a pat of butter for a just‑baked feel.
Perfect Pairings
Serve this with...
Cooking Timeline
Preheat oven, line pan, and melt butter.
Whisk sugars into melted butter until glossy.
Add eggs, vanilla, vinegar, and buttermilk; mix gently.
Fold in dry ingredients and red coloring; avoid over‑mixing.
Bake, check with toothpick, cool, and slice.
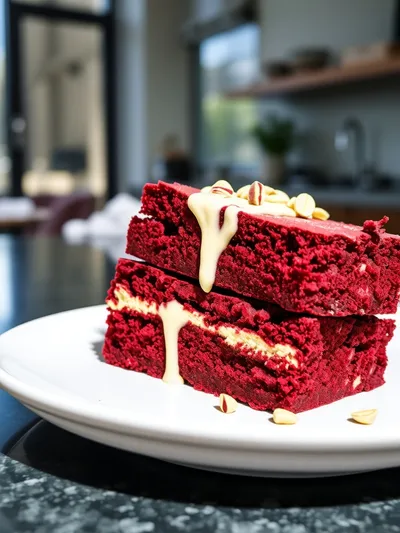
Fudgy Red Velvet Brownies
Indulge in these fudgy red velvet brownies, a silky blend of chocolate and velvety cocoa that melts in your mouth, perfect for any sweet craving.
Timing
Prep Time
20 Minutes
Cook Time
25 Minutes
Total Time
45 Minutes
Recipe Details
Ingredients
Main Ingredients
- 01 1 cup (2 sticks) unsalted butter, melted
- 02 1 ½ cups granulated sugar
- 03 ½ cup brown sugar, packed
- 04 3 large eggs, at room temperature
- 05 1 tsp vanilla extract
- 06 1 tbsp white vinegar
- 07 ¼ cup buttermilk
- 08 1 cup all‑purpose flour
- 09 ½ cup unsweetened cocoa powder
- 10 ¼ tsp baking soda
- 11 ¼ tsp salt
- 12 2–3 tbsp red food coloring (or 1 tsp beet powder)
Optional Frosting
- 01 4 oz cream cheese, softened
- 02 ¼ cup butter, softened
- 03 1 cup powdered sugar
- 04 ½ tsp vanilla extract
Instructions
Preheat the oven to 350°F (175°C). Line a 9×13‑inch baking pan with parchment paper; this helps with a clean lift.
In a large bowl whisk together melted butter, granulated sugar, and brown sugar until smooth and glossy.
Add eggs one at a time, beating gently after each; stir in vanilla, vinegar, and buttermilk.
Sift together flour, cocoa powder, baking soda, and salt; fold into the wet mixture until just combined.
Mix in red food coloring until the batter achieves a deep ruby shade—don’t over‑mix.
Pour batter into the prepared pan, smoothing the top. If using frosting, dollop spoonfuls and swirl gently with a knife, then bake for 22‑25 minutes until a toothpick comes out with a few moist crumbs.
Notes & Tips
- 1 Allow brownies to cool completely in the pan before cutting; this preserves the fudgy interior.
- 2 For an extra glossy finish, brush the top with a thin layer of melted chocolate immediately after baking.
- 3 If you like a hint of coffee, dissolve ½ tsp instant espresso in the melted butter before mixing.
Tools You'll Need
-
9×13‑inch baking pan
-
Parchment paper
-
Large mixing bowl
-
Whisk
-
Spatula
-
Sifter
-
Knife for swirling
Must-Know Tips
- Don’t over‑mix the batter; a few streaks are okay.
- Use room‑temperature eggs for a smoother batter.
- Check the brownies at the 20‑minute mark to avoid over‑baking.
Professional Secrets
- Melt butter slowly over low heat to keep it clear and bright.
- Sift cocoa and flour together for an even chocolate distribution.
- Let the batter rest for 5 minutes before baking; it improves texture.

Recipe by
kendraKendra is the culinary heart behind Your Website, where she blends classic American comfort food with fresh, seasonal twists that keep readers coming ...
Get Delicious Recipes Weekly
Join 25,000+ home cooks getting our best recipes straight to their inbox.
Free forever • No spam • Unsubscribe anytime