Why You'll Love It
- - A gentle blend of sweet and mellow banana flavor
- - Effortless layering makes it look elegant
- - No oven required—perfect for warm days
- - Holds up well for making ahead
*"The pudding was so creamy and the bananas were perfect—my family asked for seconds!"*
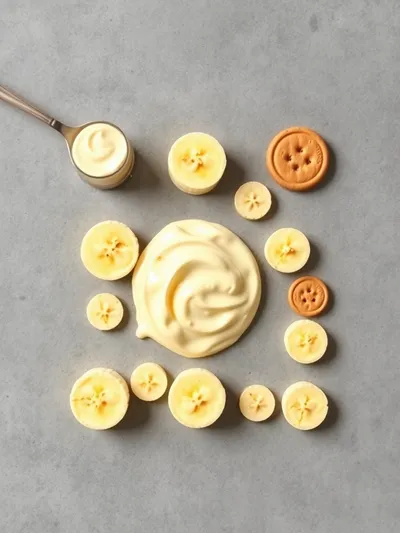
Essential Ingredient Guide
- Vanilla Pudding Mix: Choose a high‑quality instant mix; it sets quickly and gives a smooth base.
- Ripe Bananas: Select bananas that are yellow with a few brown spots for maximum sweetness.
- Nilla Wafers: These thin, buttery cookies provide a gentle crunch that softens just enough.
- Milk: Whole milk adds richness; you can substitute with a low‑fat version for lighter texture.
- Sugar: A modest amount balances the banana’s natural sweetness without overpowering.
- Vanilla Extract: A dash enhances the overall aroma, reminding you of homemade custard.
Complete Cooking Process
-
Ingredient Readiness:
Slice bananas just before assembling, and have the wafers ready to layer so they stay crisp.
-
Flavor Development:
Whisk the pudding mix with milk until it thickens, letting the vanilla scent fill the kitchen.
-
Texture Control:
Layer wafers between pudding so they absorb moisture gradually, preventing a soggy bottom.
-
Finishing Touches:
Top with a final wafer layer and a dusting of powdered sugar for visual appeal.
-
Serving Timing:
Refrigerate for at least two hours; the pudding firms up and flavors meld.
- Use bananas that are just ripe for a sweet, mellow flavor.
- Cover the dish tightly to keep the layers from drying out.
- Let the pudding chill overnight for the best texture.
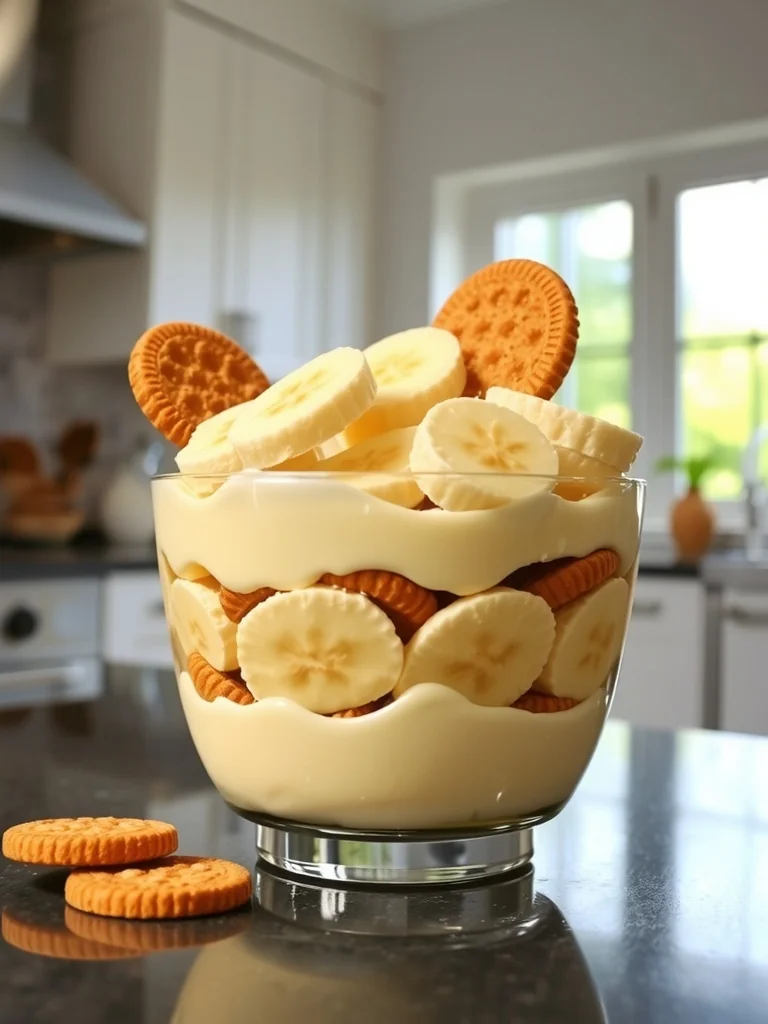
- Serve in clear glass bowls to showcase the beautiful layers.
Pro Tips
When you finally spoon out a portion, notice how the wafer edges have softened just enough to give a tender bite while still holding a whisper of crunch. Yeah, that contrast is the secret that keeps people coming back. I often find that a little extra chill time lets the flavors settle, making each spoonful feel richer and more cohesive.
The essence of the dish:
A fun fact or historical angle:
Flavor or sensory focus:
You Must Know
- Serve chilled for best texture
- Use fresh bananas for natural sweetness
- Layer evenly for visual appeal
Frequently Asked Questions
→ Can I make banana pudding ahead of time?
Yes, it actually improves after a few hours in the refrigerator as the flavors meld and the wafers soften.
→ What kind of bananas work best?
Ripe yellow bananas with slight brown spots bring natural sweetness without becoming mushy.
→ Can I substitute the vanilla pudding mix?
You can use homemade custard or a dairy‑free pudding mix; just ensure it sets firm enough.
→ Is this recipe gluten‑free?
No, the wafers contain gluten. Use gluten‑free cookies as a substitute if needed.
→ How long can leftovers be stored?
Keep refrigerated in an airtight container for up to 3 days; the texture remains pleasant.
→ Can I add toppings?
A sprinkle of toasted coconut or a drizzle of caramel adds a lovely contrast.
Chef's Tips
If the pudding seems too runny, let it sit a few extra minutes before layering.,For extra banana flavor, mash half a banana into the pudding before setting.,You can add a splash of rum‑free vanilla liqueur for an adult twist if desired.
Nutrition Facts
per serving
320
Calories
6g
Protein
Fifty-five grams
Carbs
8g
Fat
Taste Profile
A sweet, creamy, and buttery dessert.
Ingredient Substitutions
Don't have an ingredient? Try these alternatives
Maintains the buttery flavor while keeping it gluten‑free.
Provides a dairy‑free option; pudding may be slightly thinner.
Recipe Variations
Try these delicious twists on the original
Spicy Version
Add a pinch of cinnamon and a dash of nutmeg for warm spice notes.
Mediterranean Style
Swap wafers for crushed pistachios and sprinkle with a hint of orange zest.
Common Mistakes to Avoid
Learn from others' mistakes for perfect results
- Over‑mixing the pudding, which can make it grainy.
- Using under‑ripe bananas, leading to a bland flavor.
- Leaving the dessert uncovered, causing the wafers to dry out.
Meal Prep & Storage
Make Ahead Tips
You can whisk the pudding mixture a day ahead and keep it chilled; layer with bananas and wafers just before serving.
Leftover Ideas
Refrigerate in a sealed container and enjoy within three days; the wafers will soften but still taste lovely.
Perfect Pairings
Serve this with...
Cooking Timeline
Whisk pudding mix with milk and let it set.
Stir in vanilla and optional sugar.
Slice bananas and arrange first wafer layer.
Layer pudding, bananas, and wafers repeatedly.
Cover, chill, and garnish before serving.
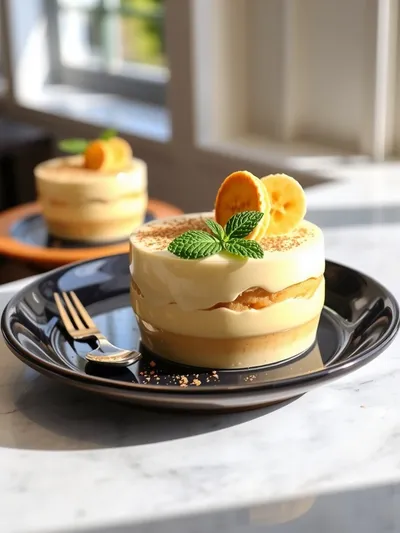
Classic Banana Pudding
A comforting, layered treat that brings together silky vanilla pudding, ripe banana slices, and the buttery crunch of wafers. I remember making this for my grandchildren on a rainy Sunday, the kitchen filled with the sweet scent of banana and vanilla. Honestly, it’s simple enough for a quick gathering yet feels special enough for holidays. The texture shifts from smooth to creamy to a gentle snap, and each spoonful feels like a warm hug. This classic banana pudding is perfect for when you need a dessert that says love without fuss. Look, you’ll find that the balance of flavors is just right—no need for fancy tricks, just honest ingredients and a little patience.
Timing
Prep Time
20 Minutes
Cook Time
10 Minutes
Total Time
30 Minutes
Recipe Details
Ingredients
Pudding
- 01 1 package (3.4 oz) instant vanilla pudding mix
- 02 2 cups whole milk
- 03 1 tsp vanilla extract
Layering
- 01 3 ripe bananas, sliced
- 02 1 ½ cups Nilla wafers
- 03 2 tbsp sugar (optional)
- 04 Powdered sugar for garnish
Instructions
In a mixing bowl, whisk the vanilla pudding mix with cold milk until smooth; let it set for 5 minutes.
Stir in the vanilla extract and optional sugar, then taste for sweetness.
In a serving dish, place a thin layer of wafers, then spoon a generous layer of pudding over them.
Arrange banana slices over the pudding, then repeat layers until ingredients are used, ending with wafers on top.
Cover and chill for at least two hours; dust with powdered sugar before serving.
Notes & Tips
- 1 If the pudding seems too runny, let it sit a few extra minutes before layering.
- 2 For extra banana flavor, mash half a banana into the pudding before setting.
- 3 You can add a splash of rum‑free vanilla liqueur for an adult twist if desired.
Tools You'll Need
-
Large mixing bowl
-
Whisk
-
8‑inch square dish
-
Sharp knife
-
Measuring cup
Must-Know Tips
- Don’t over‑mix the pudding; gentle whisking keeps it silky.
- Slice bananas evenly for uniform layers.
- Cover tightly to prevent the wafers from drying out.
Professional Secrets
- Use chilled milk for a quicker set.
- Add a pinch of salt to brighten the vanilla flavor.
- Lay the first wafer layer on a damp paper towel to keep it from becoming soggy.

Recipe by
kendraKendra is the culinary heart behind Your Website, where she blends classic American comfort food with fresh, seasonal twists that keep readers coming ...
Get Delicious Recipes Weekly
Join 25,000+ home cooks getting our best recipes straight to their inbox.
Free forever • No spam • Unsubscribe anytime